目录
- What Is a Spout Pouch Leak Test?
- Where Spout Pouches Commonly Leak
- Prepare Representative Test Samples
- Spout Pouch Leak Test Methods
- Set Acceptance Criteria and Test Conditions
- Investigate and Correct Test Failures
- Build Leak Testing Into Supplier Approval
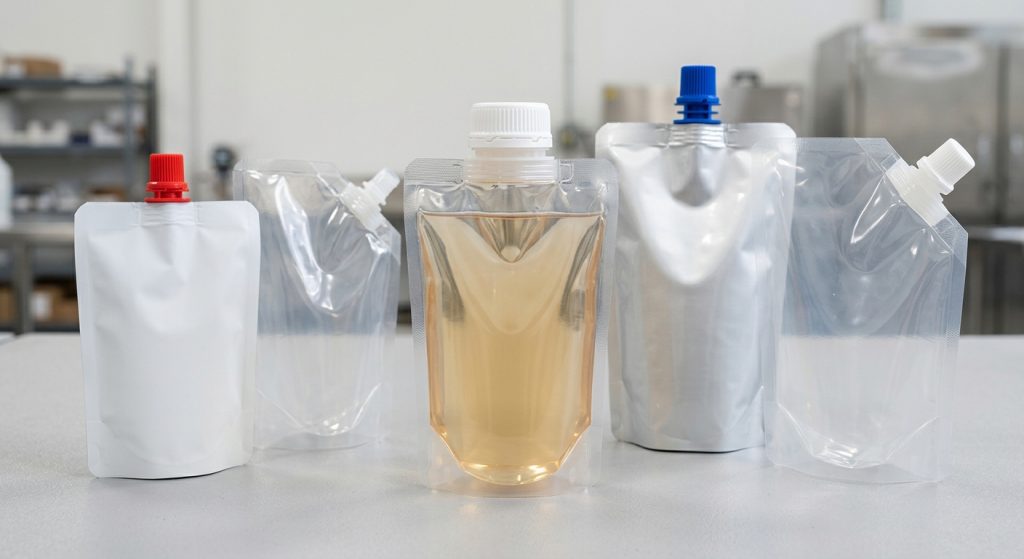
A spout pouch leak test verifies that the pouch laminate, heat seals, and spout fitment maintain package integrity under the conditions expected during filling, handling, transport, and use. This guide explains practical test methods, sample preparation, acceptance criteria, and how buyers can build leak testing into a packaging approval process.
What Is a Spout Pouch Leak Test?
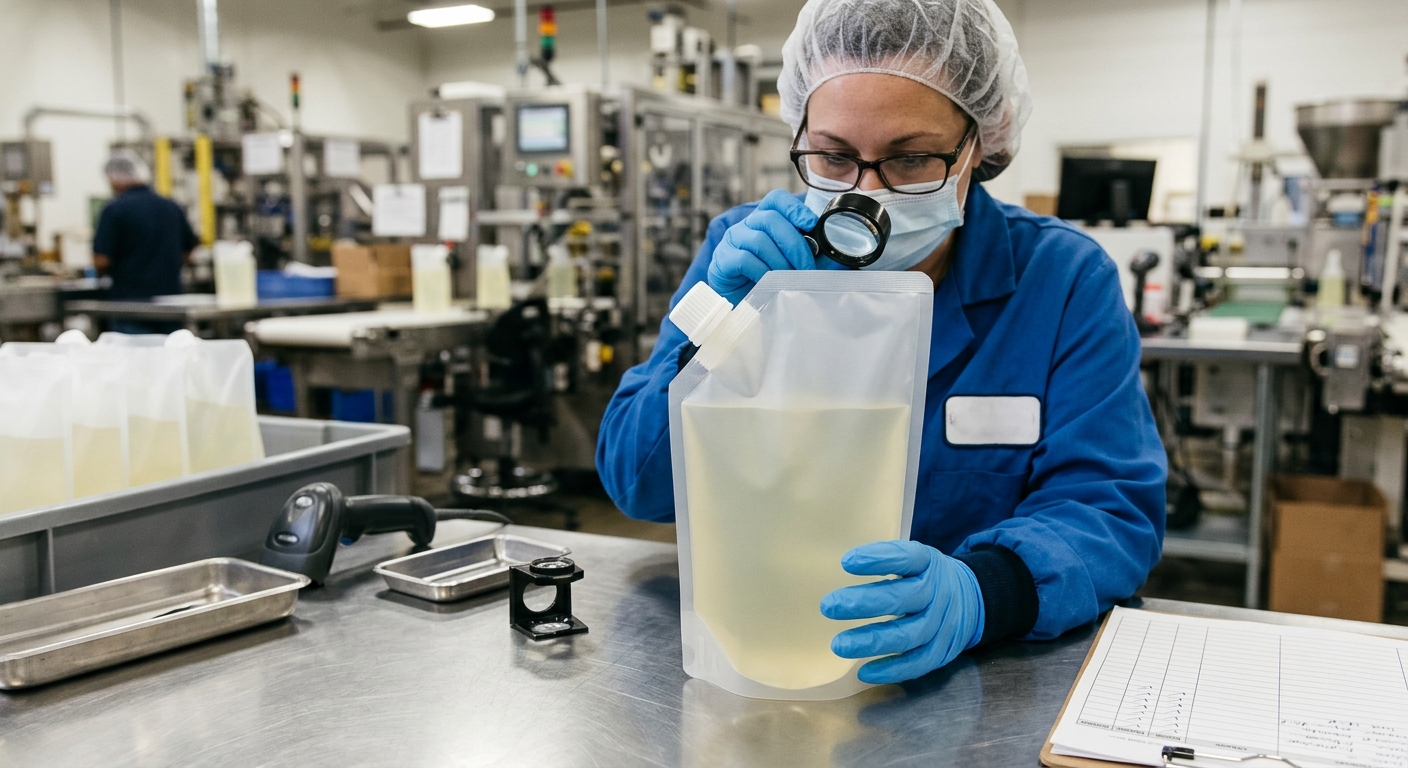
A spout pouch leak test checks whether a filled or unfilled pouch allows air, liquid, or test gas to escape through its seals, laminate, or spout-and-cap assembly. For most buyers, the practical objective is to confirm package integrity before a pouch format reaches production filling, shipment, and end use. Testing should examine the whole pack, not only the perimeter seal: the spout weld area, cap closure, pouch body, bottom gusset, and any handle or zipper features can affect the result.
The appropriate method depends on the product, filling process, pouch size, expected distribution conditions, and the type of defect to be found. A water-bath or dye method can make a gross leak easy to locate. A controlled vacuum method can identify smaller channels or weak seal areas. Burst or creep testing evaluates the pressure tolerance of sealed packages. No single test proves every aspect of package performance, so buyers commonly combine a visual inspection with one or more functional integrity tests.
This article assumes a flexible laminated spout pouch intended for liquid, semi-liquid, or pourable products. Test conditions, equipment settings, and pass/fail limits must be established for the specific product and validated by the brand, filler, and packaging supplier.
Where Spout Pouches Commonly Leak
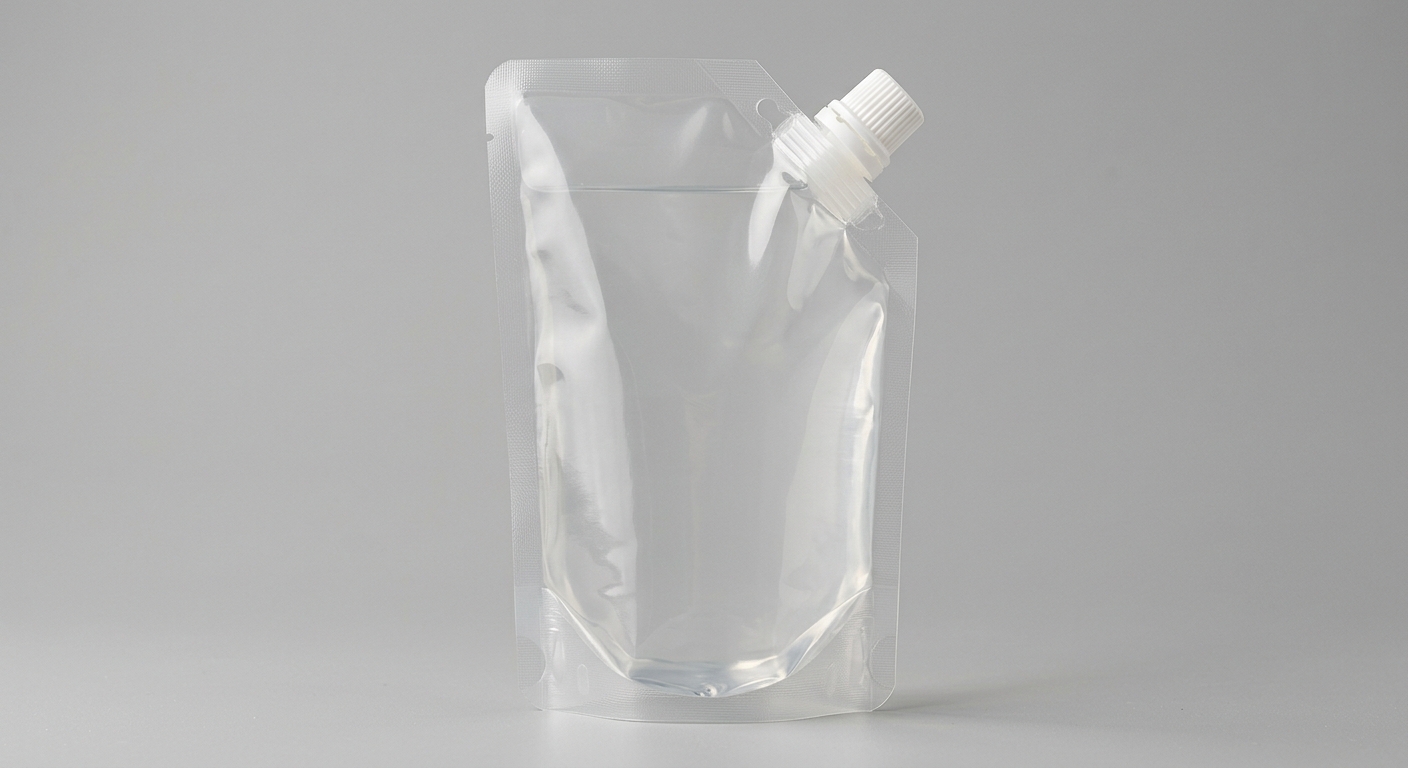
Leak paths are often associated with a transition in material, pressure, or sealing geometry. During inspection, identify the failure location before deciding that the laminate structure itself is the cause. A leak at the cap thread has a different corrective action from a leak at the pouch-to-spout weld.
- Perimeter heat seals: Incomplete fusion, channels caused by contamination, uneven pressure, or inadequate seal width may create a leak route.
- Spout weld or fitment area: This is a critical interface because the rigid or semi-rigid fitment must be sealed to flexible film. Incorrect temperature, dwell time, pressure, or fitment positioning can weaken the weld.
- Cap and thread: Cross-threading, a damaged tamper-evident band, poor cap seating, or an incompatible cap/fitment combination can cause leakage after filling.
- Bottom gusset and folded corners: Multi-layer film folds can make seal formation more demanding, particularly for stand-up pouches carrying heavier fills.
- Film body: Pinholes, abrasion, flex-crack damage, or punctures may occur during conversion, filling, cartoning, or transport.
Spout position also affects how a pack is handled and how it sits in filling equipment. A corner spout versus top spout pouch configuration should therefore be reviewed with the intended filling, capping, and pack-orientation process, not selected on appearance alone.
Prepare Representative Test Samples
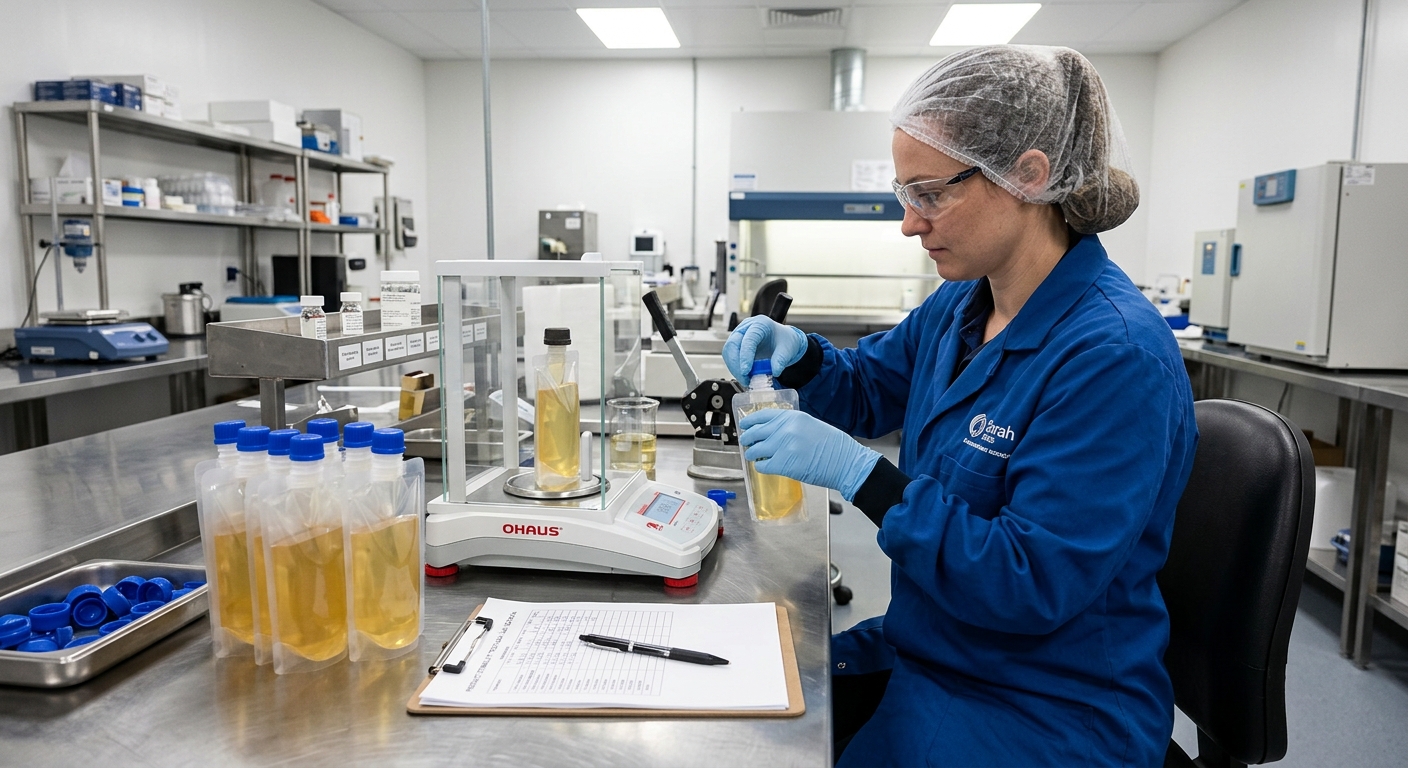
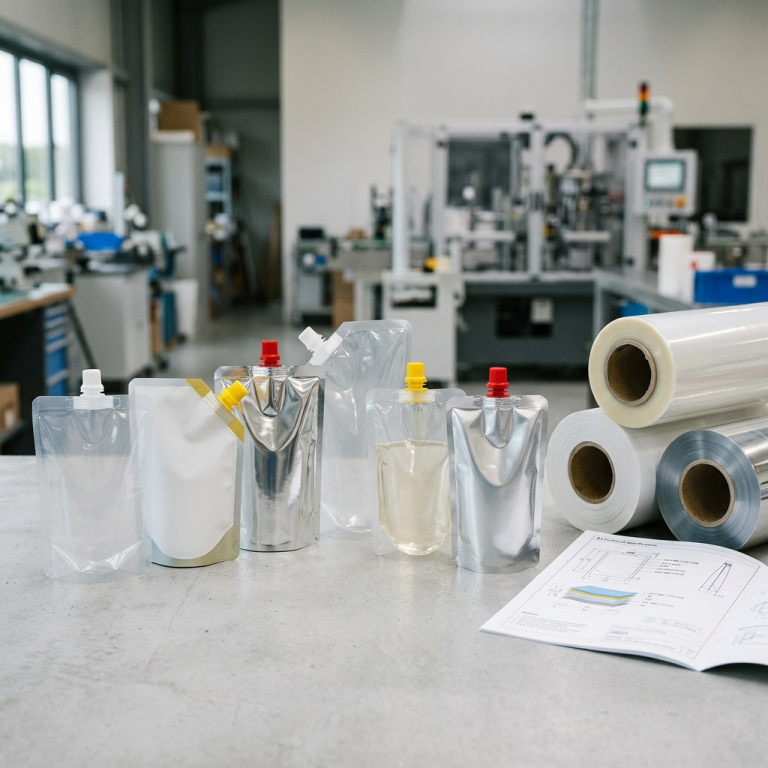
A meaningful spout pouch leak test begins with samples that represent the commercial pack. Testing empty pouches may be useful for incoming inspection, but filled and capped samples are generally needed to evaluate the combined effect of product weight, internal pressure, cap application, and seal stress.
Use the intended pouch dimensions, laminate construction, fitment and cap, fill volume, fill temperature, headspace, and sealing parameters wherever possible. Product viscosity matters: low-viscosity liquids can escape through a defect that a thick sauce may temporarily mask, while viscous products can place different loads on the fitment during dispensing. Product chemistry may also affect sealant selection and test planning.
Record each sample’s lot number, pouch orientation, fill weight, product or test liquid, cap application method, test date, and conditioning period. Condition samples at a defined temperature before testing when temperature can affect seal behavior or product pressure. For capacity planning, match nominal volume to the real fill weight, product density, and headspace; this spout pouch size and capacity guide explains why nominal pouch capacity alone is not enough for specification work.
Include samples from the beginning, middle, and end of a production run when evaluating a new order or process change. If practical, retain known-good samples and intentionally defective reference samples for equipment setup and operator training. Do not treat a test result as representative when the tested pouch differs materially from the approved commercial configuration.
Spout Pouch Leak Test Methods
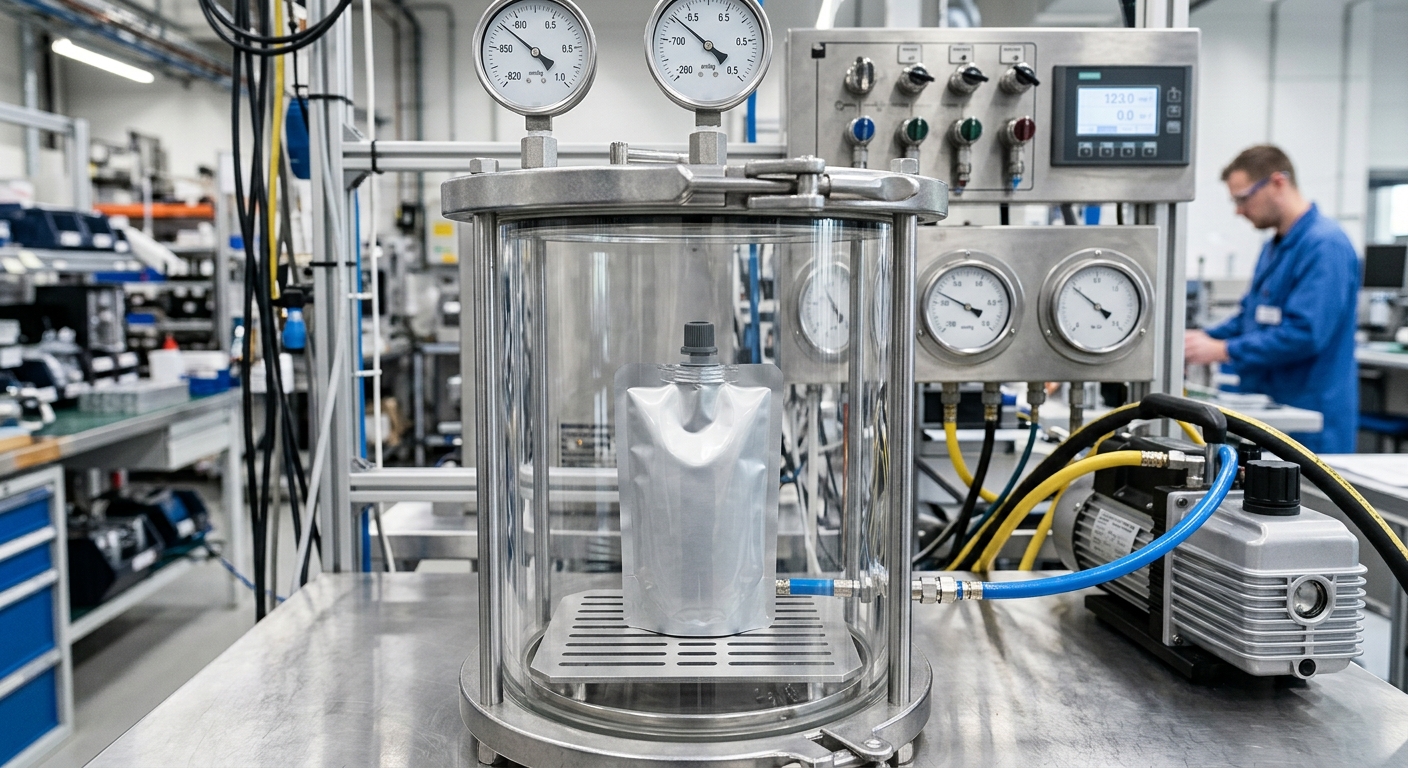
Select the method based on whether the purpose is rapid line screening, failure localization, quantitative integrity measurement, or pressure-resistance evaluation. The following methods are commonly considered for flexible spout pouches.
Visual inspection and manual handling
Inspect the pouch before and after filling for wrinkles through the seal area, contamination, incomplete seals, distorted fitments, cap damage, scratches, punctures, and visible product residue. Gently invert and manipulate a filled, capped pouch over absorbent material to reveal obvious liquid leaks. This is a useful first check, but it is not sufficiently sensitive to replace controlled leak testing for a critical application.
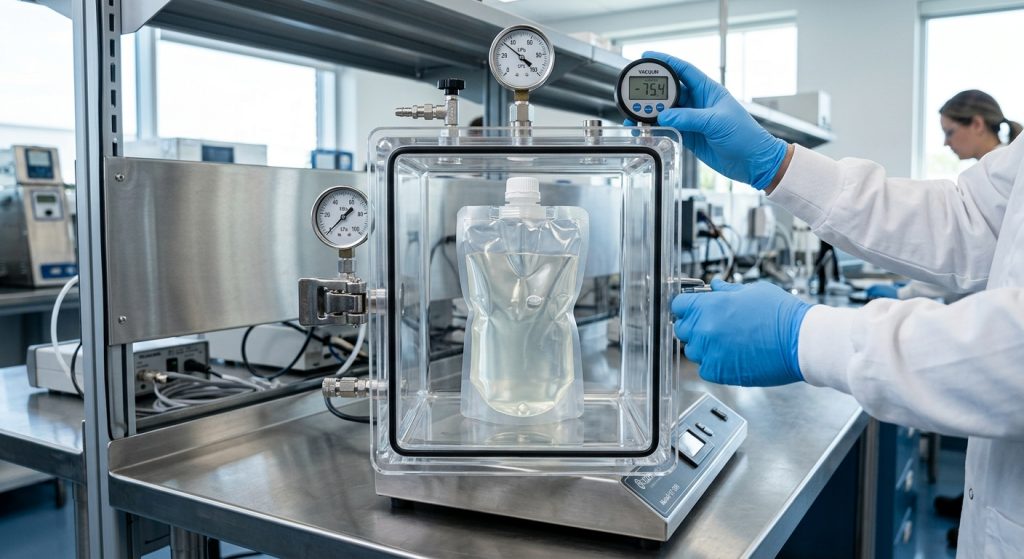
Water-bath vacuum test
Place the pouch in a transparent chamber or water bath, apply a controlled vacuum, and observe for a continuous stream of bubbles. Bubbles can help identify a gross leak location at the perimeter seal, fitment weld, or cap area. The pouch must be held in a consistent position, and the operator must distinguish trapped surface air from sustained leakage. Use dry, clean pouches where possible, and document vacuum level, hold time, pouch orientation, and observations.
Dry vacuum decay test
In a dry chamber, a sealed pouch is exposed to a defined vacuum condition while the system monitors pressure change over time. A pressure-rise pattern beyond the established limit can indicate leakage. This method avoids direct water contact and can offer more repeatable data when the chamber, pouch volume, test time, and acceptable pressure change are controlled. Equipment setup and limit development require validation for the specific package.
Positive-pressure, burst, and creep testing
Positive-pressure testing introduces air into a test fixture or pack configuration to evaluate a seal’s ability to withstand pressure. Burst testing increases pressure until failure, while creep testing holds a specified pressure for a defined period. These methods are useful for comparing seal robustness and locating the weakest area, but the pressure source and fixture must not damage the spout, cap, or pouch in a way that creates an artificial result. Record the failure mode as well as the pressure result.
Dye penetration or localized leak tracing
A colored test liquid can make a known or suspected leak path easier to see. It can support investigation of channels in seals, especially after a water or vacuum screen identifies an issue. Dye testing should be used carefully because dye viscosity, contact time, and capillary action influence results. It is generally an investigative tool rather than a complete stand-alone integrity program.
Set Acceptance Criteria and Test Conditions
Acceptance criteria should be written before routine testing starts. A statement such as “no leaks” is incomplete unless it also defines the test method, sample condition, equipment settings, inspection duration, and what counts as a failure.
A practical test protocol should specify:
- Package format, dimensions, laminate revision, fitment, cap, and fill volume.
- Product or approved test medium, including temperature and viscosity where relevant.
- Sample quantity, production-lot sampling points, and conditioning requirements.
- Equipment identification, calibrated settings, vacuum or pressure level, ramp rate if applicable, and hold time.
- Pouch orientation during the test and whether the cap is included in the test scope.
- Pass/fail definition, such as continuous bubbles from a package defect, measured decay outside the approved limit, visible product escape, or failure below the specified pressure.
- Required records, retest rules, investigation process, and disposition of affected production.
Do not copy a vacuum level or burst target from an unrelated pouch. Larger pouches, different headspace, a changed gusset, a different product density, and a revised sealant layer can all alter the suitable test condition. Sauce packs in particular require coordinated evaluation of product, fill temperature, barrier needs, pouch geometry, and fitment; see this spout pouch specification guide for sauces for related selection factors.
Investigate and Correct Test Failures
When a pouch fails, first confirm the failure location and repeatability. Separate defects found at the film body, perimeter seal, bottom gusset, spout weld, and cap closure. Photograph the area, retain the failed sample, and compare it with an approved control sample. If the failure is liquid leakage, note whether it occurs only under vacuum, only after inversion, during pressure testing, or without external stress.
For seal-area failures, review sealing temperature, pressure, dwell time, cooling conditions, jaw alignment, seal contamination, and film tracking. For spout-weld failures, review fitment placement, fitment dimensions, welding parameters, tooling condition, and the compatibility of the pouch sealant with the fitment flange. For cap failures, review torque or capping settings, cap engagement, thread condition, and handling damage. For film-body failures, examine pouch conversion, sharp edges in filling equipment, case packing, pallet configuration, and transport abrasion.
Corrective action should be verified with new samples made under the revised condition. Avoid approving a correction solely because one replacement pouch passes a single check. The purpose is to show that the process can repeatedly produce packages meeting the defined integrity requirement.
Build Leak Testing Into Supplier Approval
For B2B buyers, leak resistance should be treated as a packaging-system requirement shared by the pouch converter, fitment supplier, filling operation, and brand. Request a written specification and agree on the test approach during development, before final artwork approval or commercial production.
A useful approval sequence is:
- Define the product, fill process, distribution conditions, expected storage orientation, and consumer-use demands.
- Confirm pouch dimensions, gusset style, laminate structure, sealant layer, spout location, fitment, cap, and fill volume.
- Produce samples using the proposed materials and process settings.
- Perform agreed integrity testing on filled and capped samples, with documented conditions and results.
- Review failures by location and implement verified corrections where needed.
- Establish routine inspection frequency and records for production lots.
Ask suppliers to clarify what their internal test covers and what must be evaluated at the filling line. A converter can assess pouch conversion quality, while actual product filling, cap application, thermal exposure, and distribution simulation may need additional testing by the brand or contract packer. Clear responsibility prevents gaps between pouch approval and market release.
Leak testing is most effective when it supports a complete specification rather than acting as a final-only inspection. Define the pack components and conditions early, use controlled methods, and retain records that allow future lots or process changes to be compared on the same basis.