Table of Contents
- What a Print-Ready Pouch File Must Accomplish
- Request the Production Dieline First
- How to Read a Spout Pouch Dieline
- Recommended Print File Setup
- Bleed, Safe Zones, Seals, and Gussets
- Rotogravure and Flexographic Artwork Differences
- Artwork Considerations by Pouch Configuration
- Color, Images, White Ink, and Finishes
- Barcodes and Variable Information
- Preflight and Supplier Handoff Checklist
- Proof Approval and Change Control
A practical B2B guide to spout pouch dielines, artwork zones, bleed, color separation, white ink, barcodes, finishes, preflight checks, and proof approval.
What a Print-Ready Pouch File Must Accomplish
This spout pouch artwork guide explains how to place a design on a supplier-issued production dieline and prepare it for flexible packaging printing. A production-ready file must account for the pouch face, back panel, gussets, seals, trim tolerance, spout position, bleed, color separations, white ink, finishes, and machine-readable codes. The correct dimensions and tolerances are specific to the approved pouch construction, so buyers should obtain the final dieline from the manufacturer before adapting artwork.
A flat dieline is a manufacturing map, not an exact preview of the filled package. Filling causes the panels and gussets to expand, while seals, folds, and the spout interrupt the visible area. Good artwork therefore considers both flat production geometry and the appearance of the filled pouch.
Before design begins, confirm the nominal capacity, finished dimensions, pouch style, spout location, fitment size, filling method, film structure, print process, finish, and whether transparent windows are required. These decisions can change the template or the required artwork layers.
Request the Production Dieline First
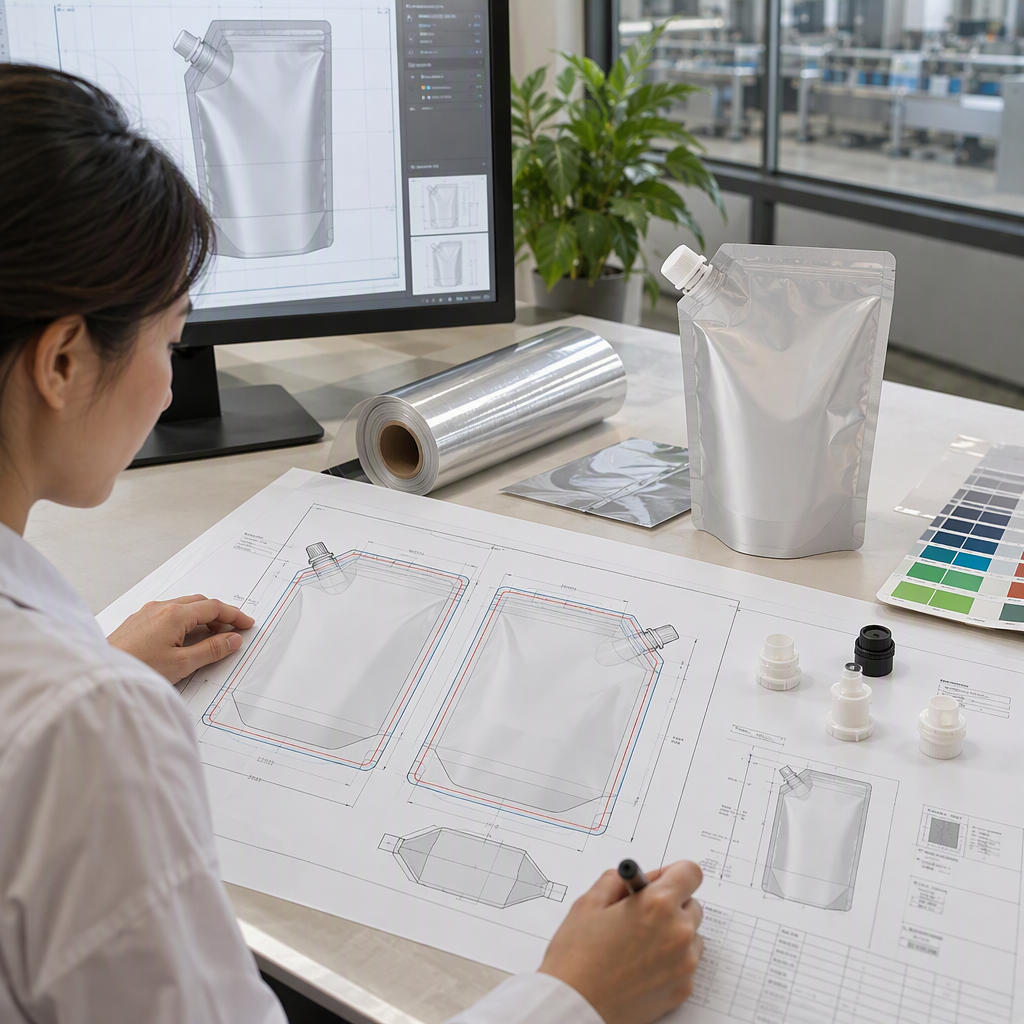
Do not build final artwork from dimensions copied from a quotation, an old order, or another supplier’s template. Two pouches with the same listed width and height can have different seals, gusset geometry, spout cutouts, trim marks, or orientation on the printing web.
The dieline request should identify the project SKU, pouch dimensions, target fill volume, pouch style, spout and cap reference, spout location, film structure, and printing method. Ask the supplier to place a version number or issue date on the file. The brand owner, designer, and packaging supplier should all work from that same revision.
The fitment must be settled early because its flange and sealing geometry influence the non-printing area around the pouch corner or top. Review the available spout pouch fitment and closure options before locking the artwork template.
How to Read a Spout Pouch Dieline
A spout pouch dieline commonly shows several production boundaries. Their colors and line styles are not universal, so use the legend supplied with the template rather than assuming that a particular color always has the same meaning.
- Cut or finished boundary: The intended outer shape after converting.
- Seal area: The region used to join the film layers or attach the fitment. Critical text and symbols should normally remain outside it.
- Fold or gusset line: The point where material turns inward or outward to form the pouch base or side.
- Bleed boundary: The distance that backgrounds and images extend beyond the intended trim or print boundary.
- Safe area: The preferred region for text, logos, barcodes, and other elements that must remain legible.
- Spout and flange zone: The fitment location and the area affected by insertion and sealing.
- Eye mark or registration area: A machine-detection mark used during converting, when required by the production process.
Keep the manufacturer’s dieline on a separate, clearly named, non-printing layer. Do not move, scale, recolor, or redraw it. If the supplied template appears inconsistent with the order specification, stop and resolve the discrepancy before releasing files.
Recommended Print File Setup

Prepare pouch artwork at 1:1 scale unless the supplier explicitly requests another scale. Adobe Illustrator or another professional vector application is generally suitable for the master layout. Confirm the accepted application version, delivery format, and whether the prepress team wants the editable source file, a packaged folder, a press-ready PDF, or a combination.
| File element | Recommended setup | Reason |
|---|---|---|
| Document scale | 1:1 unless otherwise specified | Reduces dimension and scaling errors |
| Color mode | CMYK with separately named spot colors | Supports production color separations |
| Fonts | Supply licensed fonts or convert final text to outlines | Avoids missing-font substitutions |
| Images | Embed or package all linked assets at adequate effective resolution | Prevents missing or low-resolution graphics |
| Layers | Separate artwork, dieline, white ink, varnish, and technical marks | Makes prepress interpretation clearer |
| Overprint | Use only where intentionally specified and verify in preview | Unintended overprint can change or hide artwork |
| File naming | Include SKU, size, language, and revision | Improves version control |
Minimum type size, line weight, image resolution, trapping, and total ink coverage depend on the print process and production conditions. Obtain the converter’s current prepress limits instead of relying on a generic value.
Bleed, Safe Zones, Seals, and Gussets
Pouch artwork bleed is the extension of a background color, pattern, or image beyond an intended boundary so that minor print-to-cut or print-to-seal variation does not leave an unintended unprinted edge. There is no single bleed value that applies to every spout pouch. Use the amount marked on the approved dieline or specified by the supplier.
Extend continuous backgrounds through the required bleed area, but keep logos, small text, dosage instructions, regulatory copy, barcodes, and fine borders within the designated safe zone. Fine frames positioned close to the pouch edge can make normal converting variation more visible, even when the pouch remains within the agreed specification.
Do not treat seal and gusset areas as visually neutral. Ink may be visible through folded film, graphics can become distorted after the pouch is filled, and text crossing a fold can be difficult to read. Material stiffness and total laminate thickness also influence how the pouch forms and presents; buyers can review how to specify spout pouch laminate thickness alongside the artwork plan.
Rotogravure and Flexographic Artwork Differences
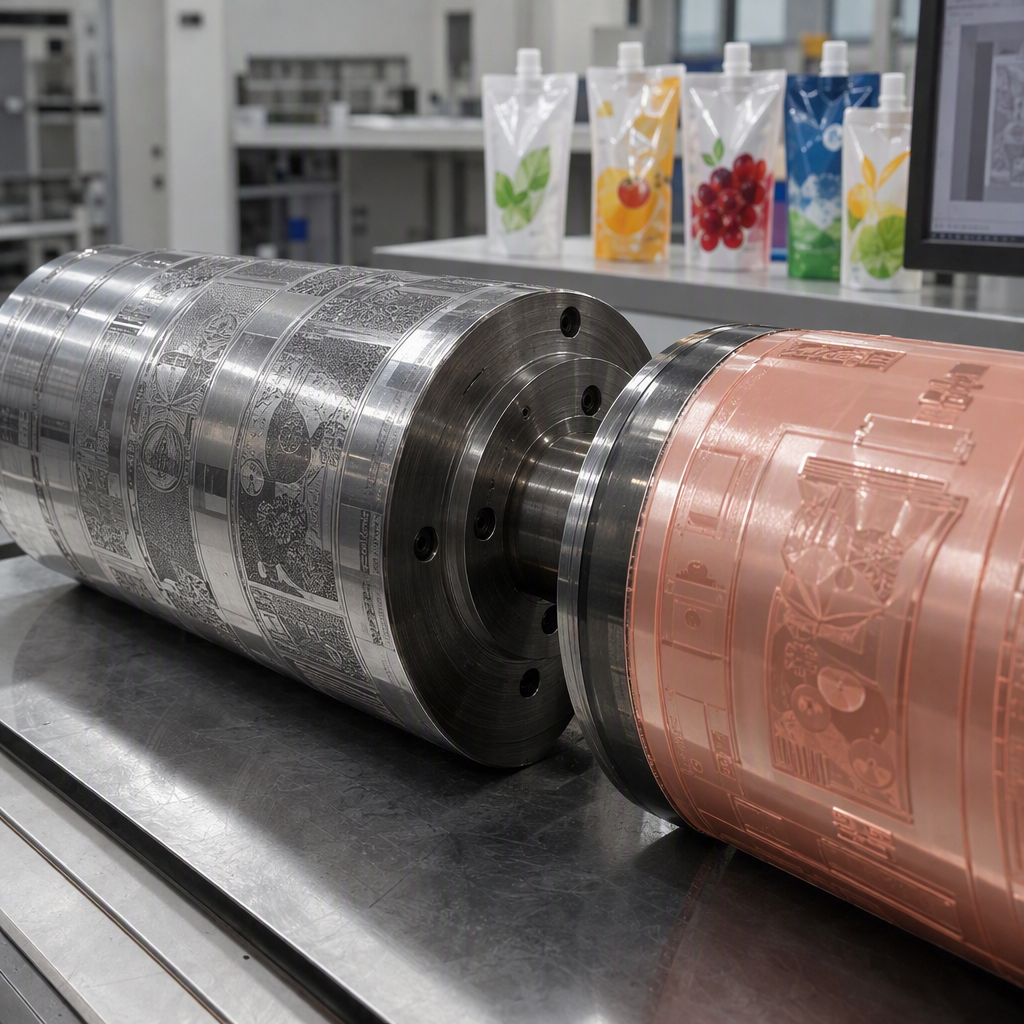
Rotogravure and flexographic printing both require separated production artwork, but they use different image carriers and prepress workflows. The converter should define trapping, screening, tonal adjustments, minimum features, and proofing conditions for the selected press.
| Consideration | Rotogravure pouch printing | Flexographic pouch printing |
|---|---|---|
| Image carrier | Engraved cylinders | Flexible printing plates |
| Color setup | Typically requires a cylinder for each process or spot-color separation | Typically requires a plate for each process or spot-color separation |
| Prepress adjustment | Separations are prepared for the specified cylinder and press conditions | Separations are prepared for plate, anilox, substrate, and press conditions |
| Artwork changes | Changes after cylinder preparation may require cylinder modification or replacement | Changes after plate production may require new plates |
| Commercial fit | Often evaluated for repeat production where cylinder investment can be allocated across the order plan | May suit different order quantities and graphics, depending on supplier capability |
This comparison is general. Print quality, economics, color count, lead time, and available finishes depend on the supplier’s equipment and the specific job. Confirm the chosen process before final color separation or proof approval.
Artwork Considerations by Pouch Configuration
The visible area and likely distortion depend on the pouch format. Use this table as a discussion aid; the production dieline remains the controlling document.
| Pouch configuration | Artwork areas to review | Practical setup consideration |
|---|---|---|
| Stand-up spout pouch | Front, back, bottom gusset, top or corner spout zone | Check how the lower artwork changes when the gusset opens and the pouch stands |
| Side-gusseted spout pouch | Main panels, side gussets, vertical folds, spout area | Avoid placing continuous text across folds unless the assembled appearance has been evaluated |
| Flat spout pouch | Front, back, perimeter seals, spout flange | Maintain safe spacing around seals and the fitment attachment zone |
| Shaped spout pouch | Custom contour, narrow sections, trim boundary, spout zone | Extend bleed around the full approved contour and protect critical graphics near curves |
| Clear-window pouch | Window boundary, white ink mask, printed laminate areas | Define the window on a separate layer and confirm what the unprinted film will reveal |
| Handled spout pouch | Handle cutout, reinforcement area, seals, dispensing orientation | Keep instructions and graphics away from cutouts and areas obscured during carrying |
The film structure can also affect transparency, background color, gloss, and the use of white ink. If a mono-material structure is being considered, coordinate design development with the technical review of mono-material and PCR spout pouch options. Do not place a recyclability claim on the artwork until the complete package and intended market claim have been appropriately evaluated.
Color, Images, White Ink, and Finishes

Define process colors in CMYK and identify each requested spot color with a consistent name. Avoid leaving duplicate spot colors with slightly different names because prepress software may interpret them as separate printing units. RGB images and effects should be converted using the color workflow agreed with the printer.
Color displayed on an office monitor or desktop printout is not a reliable production standard. If color matching is important, identify the reference system, physical target, or approved contract proof and discuss achievable tolerances with the supplier. Printed appearance can vary with ink, film, white backing, metallization, lamination, and surface finish.
On transparent or metallized material, white ink may be used beneath selected artwork to increase opacity or establish a more neutral base. Create a clearly named white-ink layer showing exactly where white should print. Areas without white may appear transparent or take on the metallic character of the substrate.
Matte coatings, gloss areas, spot varnish, and other registered finishes should also be supplied as separate vector masks. Clarify whether the finish covers the full pouch or selected areas. Small gaps between registered effects may need production allowance, which the prepress team should define.
Barcodes and Variable Information
Barcodes should be generated from confirmed data and placed at the required size, orientation, contrast, and quiet zone for the applicable barcode type. Do not stretch a barcode to fit the layout. Avoid placing it over a gusset, seal, strong curve, transparent product window, or surface that may wrinkle during filling and handling.
Ask the supplier whether press compensation or orientation changes are needed, but retain the original barcode data for verification. A barcode that scans from a digital proof is not automatically proven on the finished package. Verification should be performed on representative printed and converted samples using the buyer’s required grading method and use conditions.
Lot codes, expiration dates, filling marks, and market-specific labels may be added later by the filler. Reserve an uncoated or otherwise compatible coding area based on the actual coding equipment, ink or ribbon, and line direction. Confirm the area with the filling partner before artwork approval.
Preflight and Supplier Handoff Checklist
Run a documented preflight before sending artwork. A useful handoff package includes the final editable file, linked images, required fonts where licensing permits, a reference PDF, color targets, and a written list of special printing instructions.
- Confirm the artwork uses the latest supplier-issued dieline and has not been scaled.
- Check the SKU, flavor or variant, net contents, language, and revision against the approved copy document.
- Extend backgrounds and images through the required bleed.
- Keep critical information inside the designated safe area.
- Review every seal, fold, gusset, trim edge, handle, and spout zone.
- Remove unused artwork, hidden objects, duplicate spot colors, and obsolete layers.
- Verify image links, effective resolution, transparency effects, and color mode.
- Check white ink and finish masks in separation preview.
- Confirm barcode data, size, quiet zones, contrast, and placement.
- Provide a low-resolution visual reference showing the intended assembled orientation.
The final inspection plan should identify the approved artwork revision and visual reference. Artwork identity and print appearance can then be included in the broader pre-shipment inspection checklist for spout pouches.
Proof Approval and Change Control
Proof approval should answer two separate questions: is the content correct, and has the artwork been interpreted correctly for production? Review copy, dimensions, panel orientation, color separations, white ink, finish masks, spout position, seals, gussets, barcodes, and technical marks. View individual separations as well as the composite proof.
Ask the supplier to state what the proof represents. A digital PDF may confirm layout and content but may not predict exact substrate appearance, opacity, surface finish, or production color. A physical proof or printed sample can provide additional information, but its relationship to the final press process should be understood.
Approval should record the file name, revision, date, and approving party. Any later correction should create a new controlled revision and trigger review of affected cylinders, plates, proofs, and production dates. Do not communicate a critical artwork change only through an informal message; issue an updated file and written revision record.
FAQ
What file format should I use for spout pouch artwork?
An editable vector file is commonly requested for the master artwork, often accompanied by linked or embedded images and a reference PDF. The exact application version and PDF standard depend on the supplier’s prepress workflow. Confirm the accepted formats before packaging the final files.
How much bleed does spout pouch artwork need?
Use the bleed specified on the supplier-issued production dieline. There is no universal bleed dimension for every pouch because printing, laminating, slitting, and pouch-converting conditions differ. Extend backgrounds through the marked bleed while keeping critical elements inside the safe area.
Can I reuse a dieline from another pouch supplier?
It is not advisable without written confirmation from the new manufacturer. Finished width and height do not fully define seal widths, gussets, trim paths, spout zones, web orientation, or production marks. Request a dieline tied to the selected construction and supplier equipment.
Should pouch artwork use CMYK or RGB colors?
Production artwork is generally prepared with CMYK process colors and separately identified spot colors. RGB photographs or effects should be converted through the color workflow agreed with the printer. Ask the supplier to confirm color profiles and separation requirements.
Why is a white ink layer needed on some pouches?
White ink can provide opacity and a more neutral printing base on transparent or metallized films. Without white backing, colors may appear translucent or be influenced by the substrate. The artwork should define white ink as a separate, clearly named mask.
Can text or a barcode cross a pouch gusset?
Critical text and barcodes should generally remain on a stable, visible panel. A gusset folds when empty and expands after filling, which can distort content or make scanning unreliable. Use a filled mockup or representative sample to assess any design that intentionally crosses a fold.
Does an approved PDF proof guarantee the final printed color?
Not necessarily. A PDF can confirm layout, copy, orientation, and separations, but screen display does not reproduce all effects of ink, substrate, white backing, lamination, and finish. Define an appropriate physical color reference or proofing method with the supplier when color matching is commercially important.
When should printing cylinders or plates be produced?
They should be produced only after the dieline, artwork content, color separations, white ink, finishes, and proof have been approved under a controlled revision. Changes made afterward may require cylinders or plates to be modified or replaced.
Prepare Your Spout Pouch Artwork for Review
Discuss your pouch structure, spout fitment, artwork, MOQ, sample needs, and quotation requirements with HUACANG Packaging before releasing print files.